Creating a session
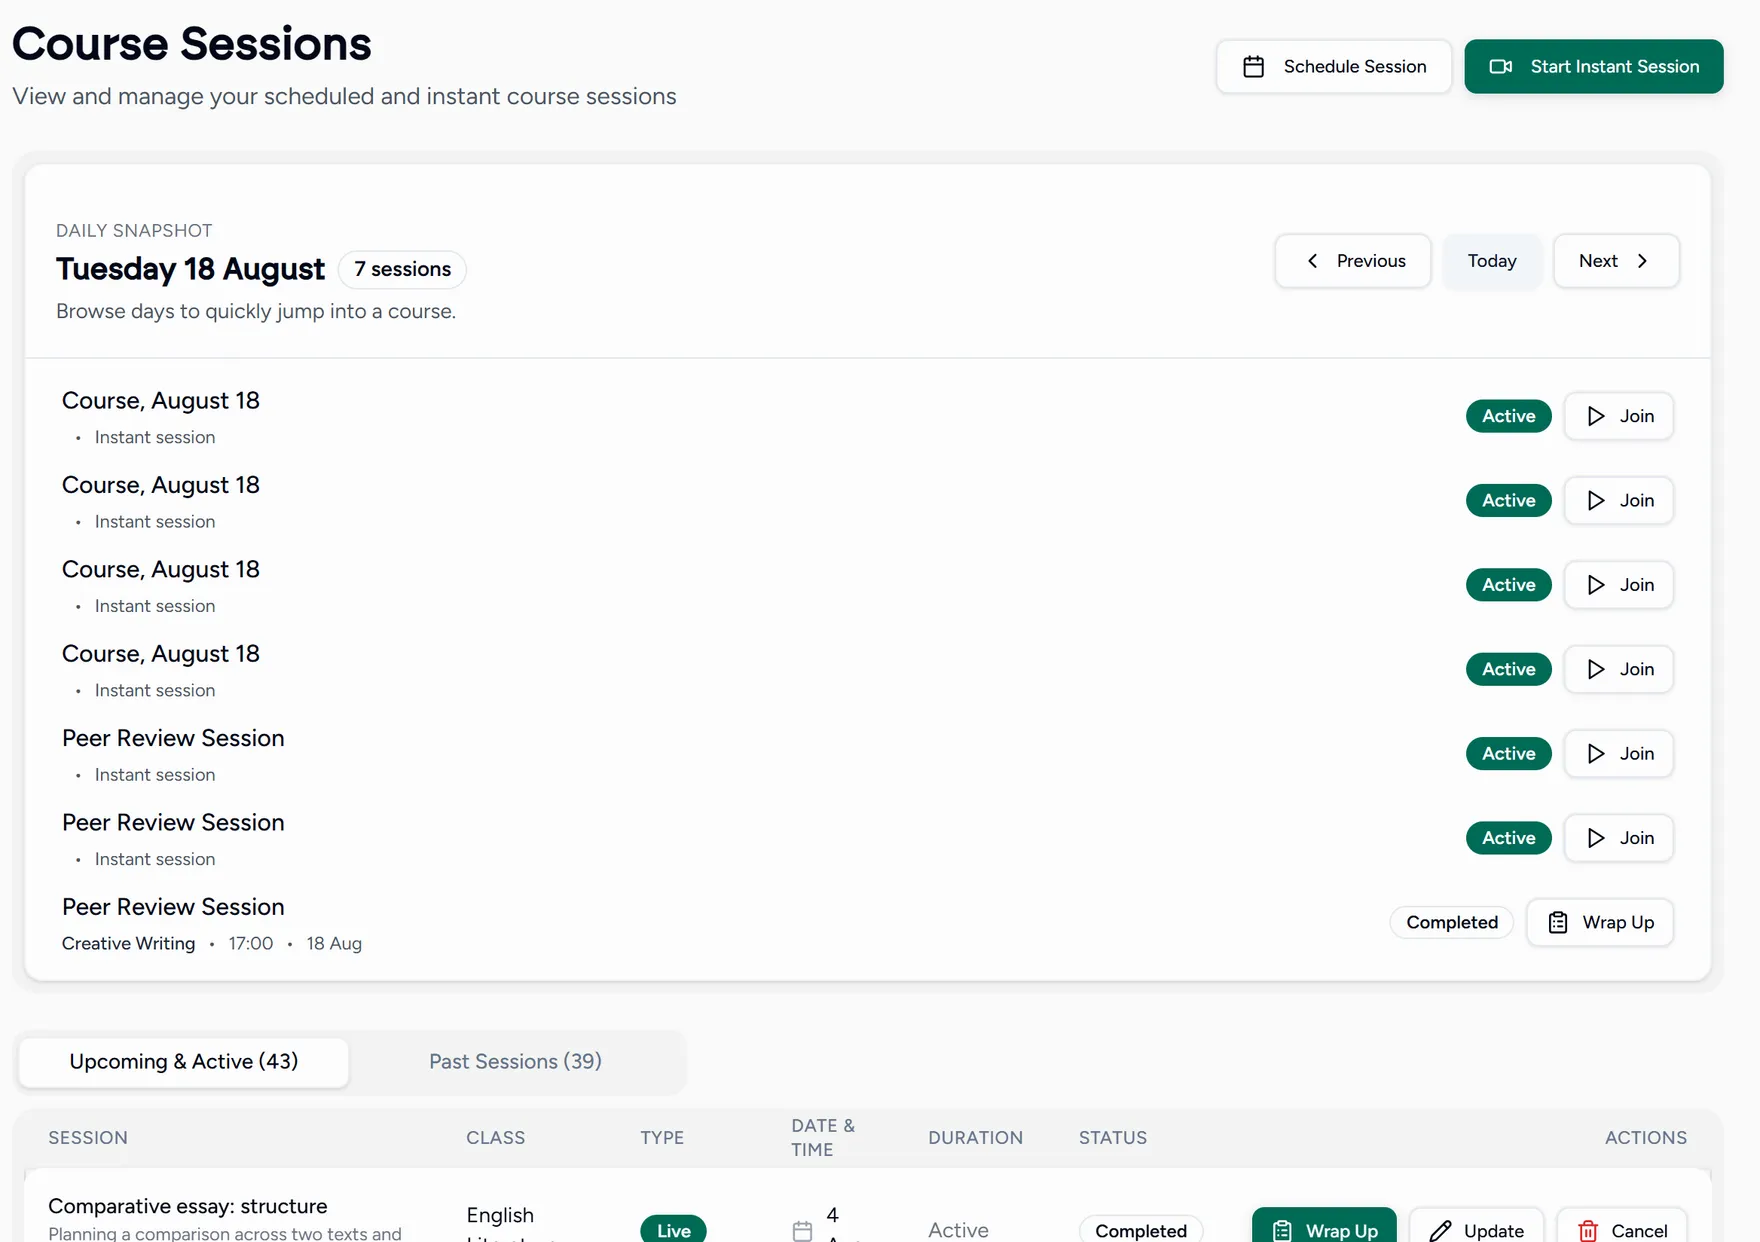
A session is one lesson. They live under Sessions, split into upcoming and past, and can be filtered by program.
Scheduling one
Choose New session
The New session button is top right on every screen, and Schedule Course is in the quick actions on your dashboard. Both open the same form.
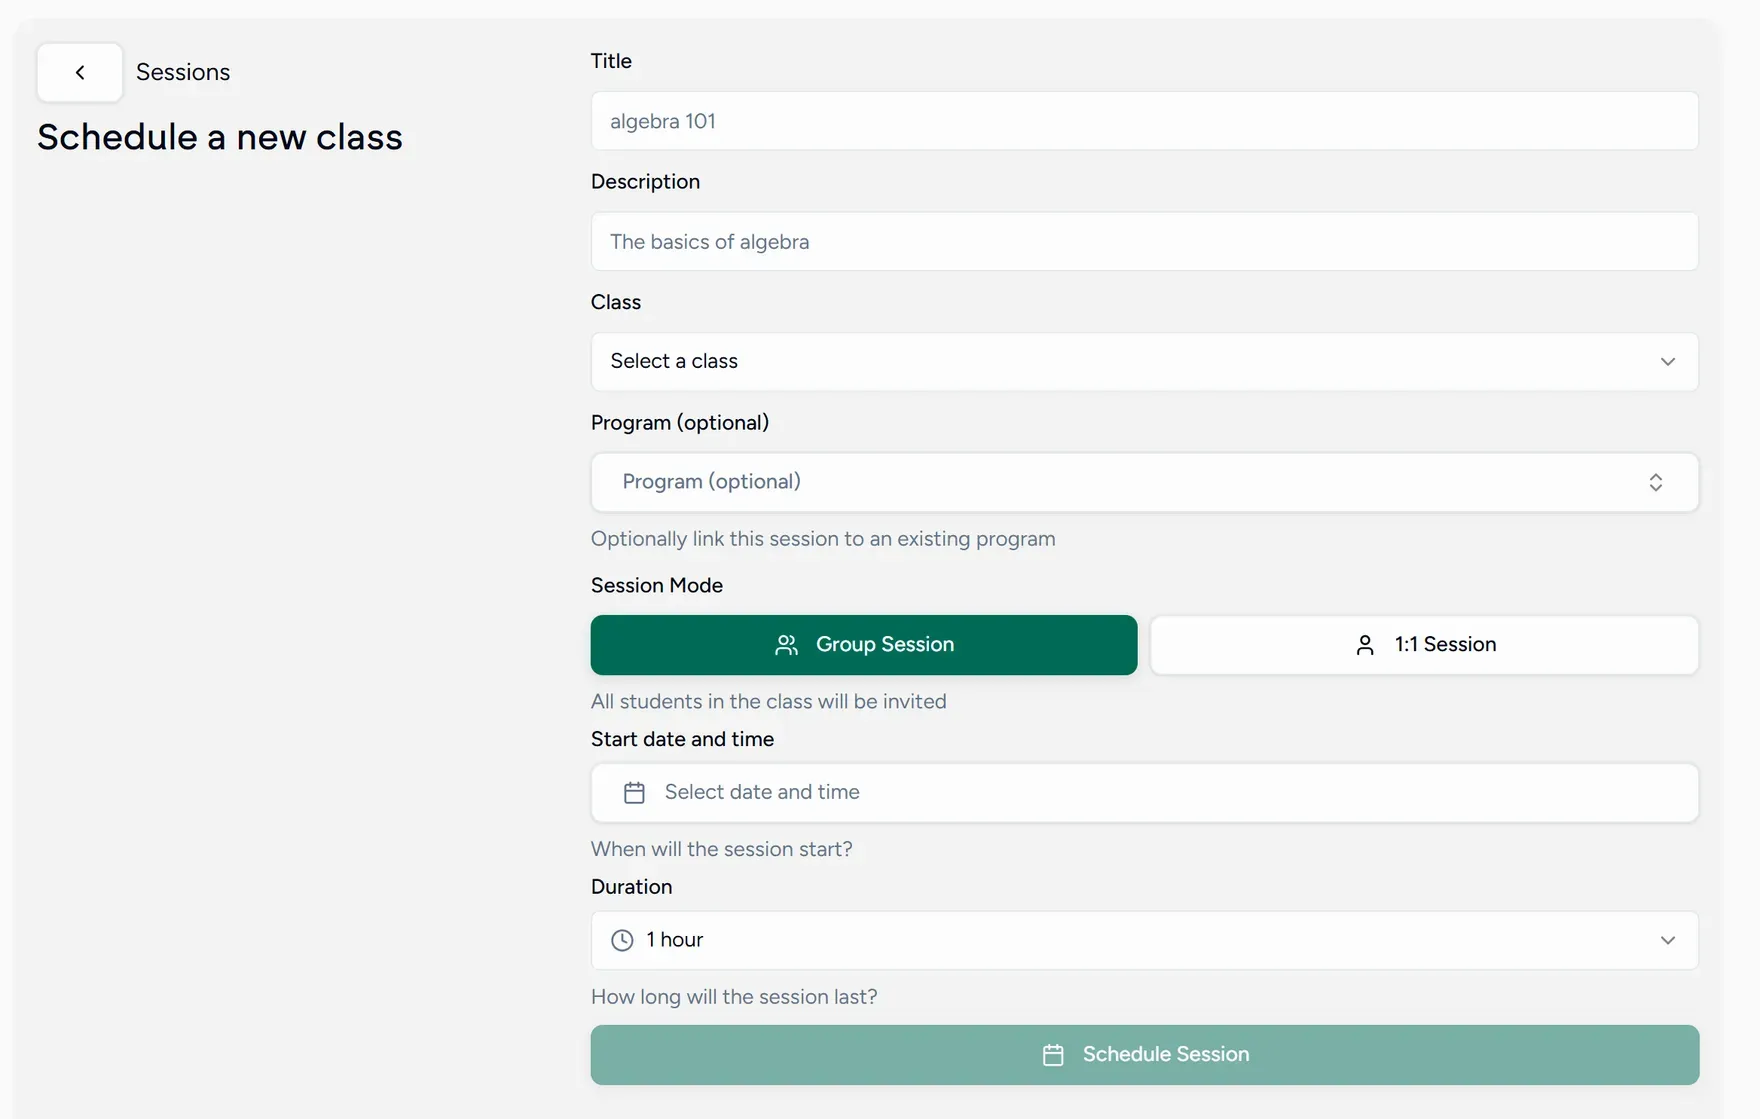
Title and description
The title is what everyone sees on their calendar, so make it specific: “Paper 2 practice” beats “English”.
The description is optional and useful for anything the student should know in advance.
Pick the class
Choosing a class decides who is invited. Every student in it is added to the lesson, so you invite the group rather than the people. No class yet? See Classes and groups.
Link it to a program, if it belongs to one
Program is optional. Setting it means the lesson counts as part of that series, which matters later: a wrap-up can only store notes against a lesson that belongs to a program. See Programs and series.
Choose the session mode
- Group session invites everyone in the class.
- 1:1 session is for a single student.
Group sessions and how many people can join one depend on your plan. Solo is one to one only. See Plans and limits.
Set the start and duration
Pick the start date and time, then the duration. Durations run from 15 minutes up to several hours in fixed steps.
The longest a single lesson can run is capped by your plan: 2 hours on Solo, 3 on Pro, 4 on Academy.
Schedule it
Schedule Session creates the lesson. It appears on your calendar and on the calendar of everyone invited, and reminders go out before it starts.
Managing a lesson you already made
Open it from Sessions or from the calendar to start it, edit it, or cancel it. Times are always shown in your own timezone.
Teaching right now instead
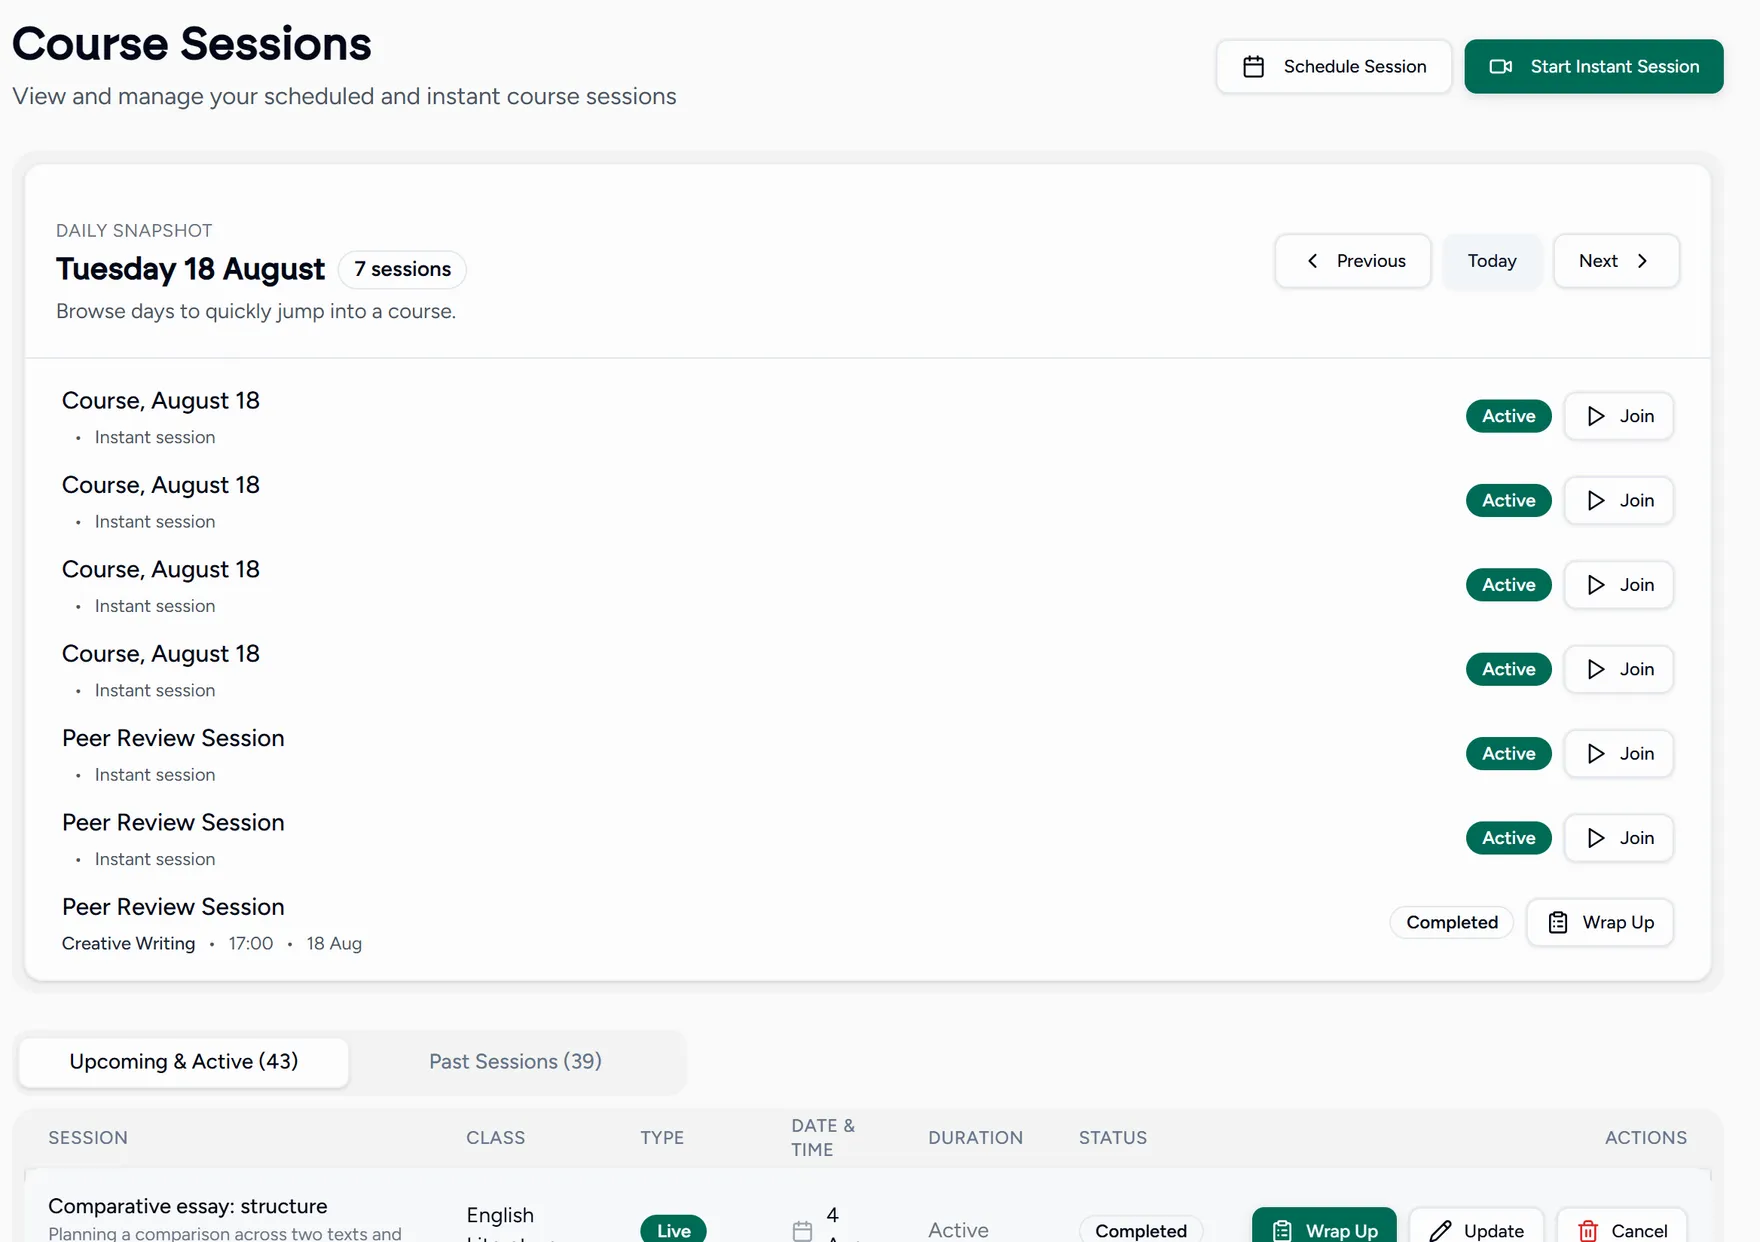
If the lesson is happening this minute, do not schedule it. Use an instant session, which opens the classroom immediately.